First, a little background info:
Cultivation in the agricultural context is the process of turning over or somehow disrupting the soil. I will use it here to explain how we prepare the soil for planting. I will also refer to soil disruption with tools as tillage, tilling or plowing, in the case of tractors and larger equipment. You might also hear it used as a method of controlling weeds in the field. In that case, it means that someone is coming through with a tool like a hoe, or in the bigger examples, an implement pulled behind a tractor, and scraping the surface of the soil, or just below it, in the top of what is called the “root zone”, to kill the weeds that are competing with their crop.
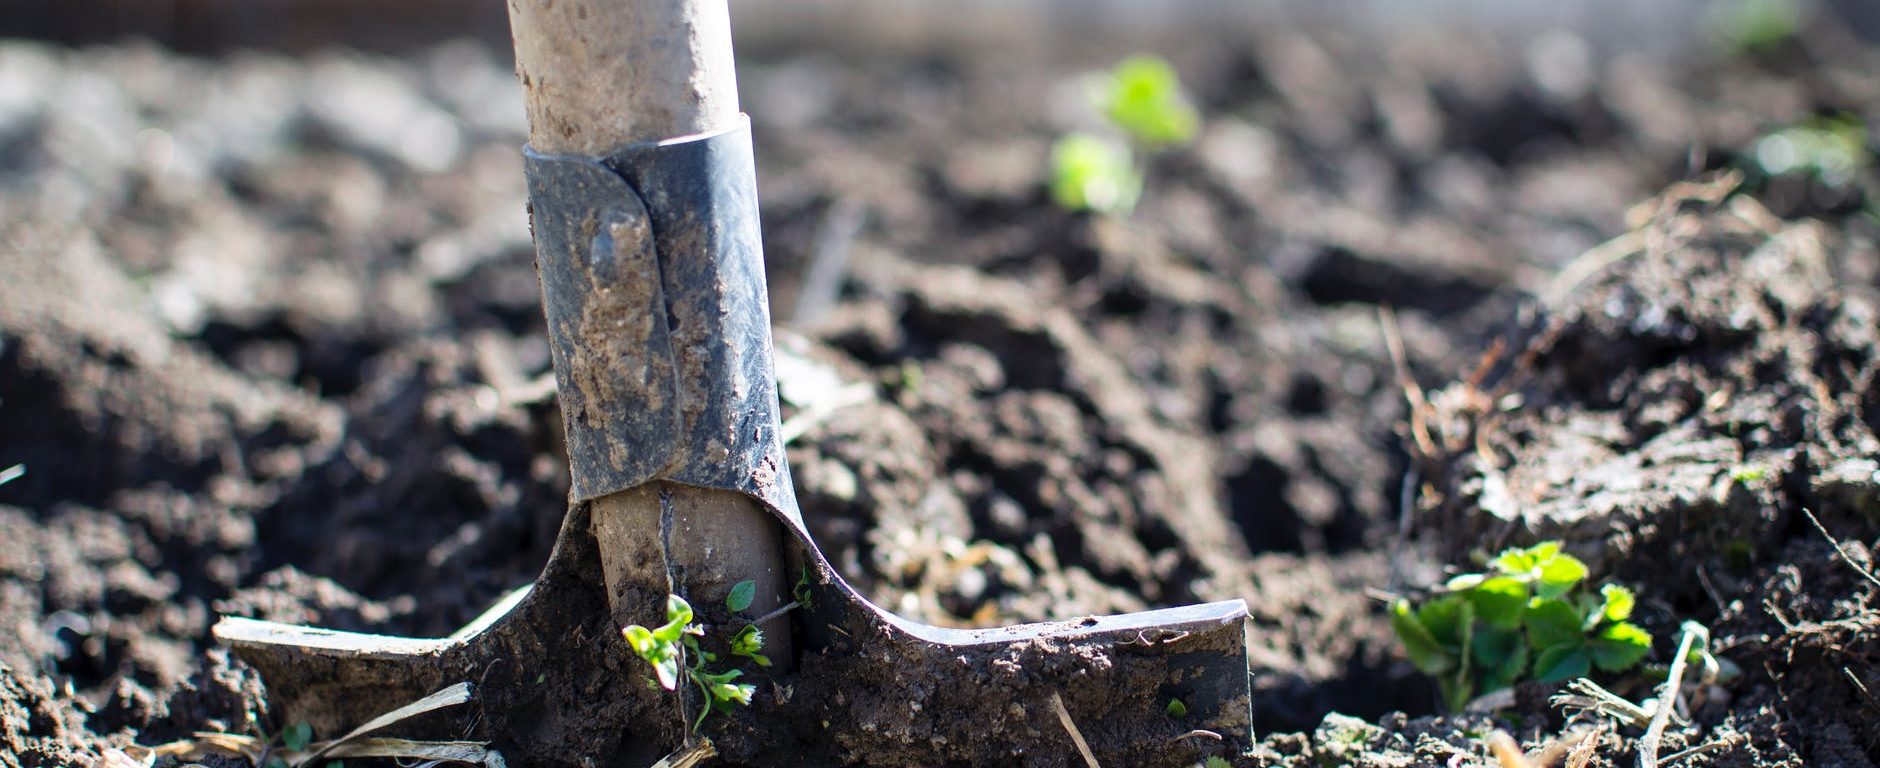
When installing your garden, you will consider turning over your soil with a tool like a large garden fork or a shovel, maybe even a rototiller or some other tilling machine. This initial cultivation, or tillage, serves to break up any compaction that has taken place in your garden space before. Literally digging into the soil and turning it over, followed by breaking and loosening up any large clumps, will serve to kill most of the plants that may be living there (like turf grasses, etc.) and make an ideal space for your new garden seeds or transplants to take root. A new garden space that was cultivated before will not be as difficult to cultivate as a backyard with dense grass that has never been turned over. At a minimum you should expect to cultivate at least 6 inches down into your soil. Ideally, you would cultivate 8-12 inches down if possible. Some of you will hit bedrock or some other kind of dense material before you get to 12 inches. That might be too much work for your time or your tools, but if you can get to at least 6 inches, there are steps that the more patient gardener can take to let some plants and other organisms do the work instead of breaking your back or your shovel.
When deciding if cultivation is necessary, think about the purposes it serves and how it effects the soil. Soil is a complex ecosystem of billions of individual microorganisms living, reproducing and collaborating with plants to produce the abundance of life we see shooting up out of the ground. That life creates a structure for itself in the soil over time. When we till the soil, that structure is broken down to some degree in a way that makes more nutrients available in a quick burst to the plants or seeds that are present. That is a gain in the short term, giving your plants a boost, but in the long term, it also gives your weeds a bump as well as slows the symphony of soil life as it has to recover from the disturbance.
But let’s get to work already!
Now I’ve talked and talked about what is going on when you till the soil, but that’s not why you’re here. You’re here to get enough information to start working your garden soil, so let’s go!
Your garden soil has to be tilled up enough, in small enough clumps, to do two broad things for your seeds as they sprout and mature into healthy, productive plants.
- Make good contact with your seeds when they are planted in it so they can soak up enough water and nutrients to sprout
- Provide the right protective and stable environment for the seed’s tender new shoots as they grow and start their relationship with the soil’s microorganisms
Now, with just that to go on, you might think that grinding your soil into dusty powder is the best way to go…and for the very top of the soil, where your seeds will be starting out, that’s true. When your plants start sinking roots deeper into the soil, they will need more than just things to hold onto, they will need to partner with the kind of microorganisms that thrive in healthy soil that has good structure. Good structure comes from lots of factors, the biggest being that the soil hasn’t been regularly tilled.
All right, Go Nuts!
Wait, not yet! Is it raining? Is it muddy? Is the ground too hard because it’s too dry? If it’s sloppy muddy, wait until the soil dries enough to hold it’s shape when you move it around at a minimum. Soil is LOT heavier when it’s wet, so a 10 minute job can easily turn into an hour of exhausting labor if your try to do this in the mud. The same is true of some soils when they aren’t wet enough to turn. They harden up and might seem like rock, leaving you trying to pulverize rock-hard clods with hand tools…for DAYS!
Pro tip:
Water the area you want to till a couple of days before digging so the water has time to soak in as well as time to dry into damp earth rather than mud.
Are the conditions right?
Okay, now Go Nuts!!!
Till up that garden for the first planting using a pick axe if you have to to make the initial cultivation, then a finer tool like a shovel or a garden fork to keep breaking the clumps of soil into smaller and smaller pieces. One you have broken most of your soil up into pieces smaller than a dime, you should then take this opportunity to remove roots or stems from plants that were growing there before that you don’t want to return and choke out your tender seedlings (looking at you bermuda grass!).
Once that is done and you have a fine, loose soil at least 6-8 inches deep, meet me over at the Planting page and we’ll talk seeds and seedlings!